


White-goods plumb-ins look simple — connect a hose to a tap, plug in the drain, plug in the power, done. The reason they're worth doing properly is what happens when something fails 5 or 8 years in. Flexi hoses perish, valves seize, drain connections leak, and a quietly leaking washing machine can saturate kitchen units, kitchen flooring and the ceiling of the room below over a long weekend away.
Proper plumb-ins include four things that DIY and cheap-installer jobs typically skip:
An isolation valve on the supply — modern washing-machine valves have integrated lever isolators, but on older installations a separate isolator is needed upstream so the supply can be turned off without a major shut-off. Critical when a flexi hose eventually fails: turn the lever, the leak stops.
A correctly-fitted standpipe with trap — the drain hose enters a trapped standpipe that's properly secured to the wall, with the right air gap and the right fall to the soil pipe. Wrong-height standpipes cause repeated drainage issues; missing traps allow drain smells back into the kitchen.
Fresh flexi hoses with date-stamped lifespans — the rubber hoses connecting modern appliances to the supply have manufacturer-stated lifespans (typically 5 years on standard hoses, 10 years on premium braided ones). Reusing 8-year-old hoses on a new appliance install is asking for a future leak.
A properly secured drain hose — the drain hose held in place at the standpipe, not just dangling. Loose drain hoses fall out of standpipes when the appliance vibrates during spin cycles.
A washing machine plumb-in on a kitchen with existing services in roughly the right place is a 60–90 minute job. Here's what's involved.
Step 1: Survey existing services. Cold supply availability checked (sometimes also hot, depending on whether it's a hot-and-cold-fill machine — most modern UK appliances are cold-fill only). Drain availability checked — existing standpipe location, height, fall to soil. Power supply confirmed (13A socket within reach of the appliance).
Step 2: Cold supply. If a washing machine valve isn't already in place, a tee is made into the cold supply pipe with a new washing machine valve fitted. The valve has an integrated isolator and a 3/4 BSP threaded outlet for the flexi hose. If a valve is already in place, it's checked for free operation and replaced if seized.
Step 3: Drain standpipe. Existing standpipe checked for height (60–90cm above floor level is the working range — too low and water back-feeds into the appliance, too high and the appliance can't pump waste water out). Trap checked for compliance (modern P-trap or U-bend). Standpipe secured to wall if loose.
Step 4: Flexi hoses. New cold inlet hose connected — most appliances come with one but it's worth checking date stamp and condition. Both ends sealed with the correct washers (new ones, not reused). Drain hose pushed into the standpipe with a hooked retainer to prevent it being shaken loose during spin.
Step 5: Power and level. Appliance connected to its 13A socket. Levelling feet adjusted with a spirit level — appliances out of level vibrate dramatically during spin and shake the drain hose loose. Anti-vibration pads optional but recommended on suspended floors.
Step 6: Test cycle. Cold supply turned on. Appliance run on a quick wash cycle to test fill, wash, drain and spin. Watching for leaks at every joint during the first fill (most leaks show up immediately under pressure). Drain flow watched at the standpipe.
Step 7: Walk-through. Appliance manual handed over. Maintenance basics walked through (clean the drain filter every few months, check hoses annually, replace flexi hoses every 5–10 years). Old hoses or fittings disposed of.
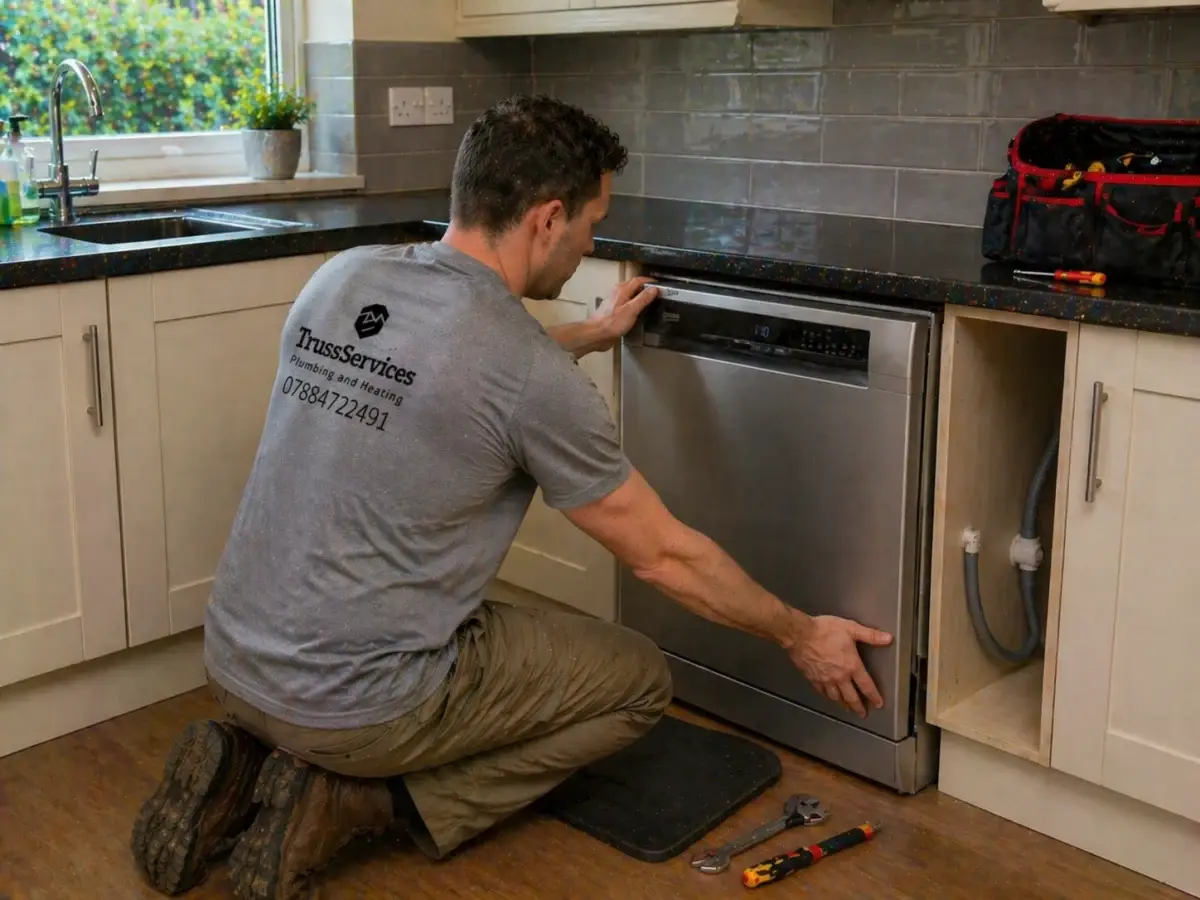
Dishwasher plumb-ins look similar to washing machines on the surface — a cold supply, a drain connection, an isolator. The trickier elements are the cabinet integration and the drain routing.
Cabinet integration. Most modern kitchens have dishwashers built into a cabinet space, with the appliance front clad in a matching kitchen door. The plumbing has to be routed through the cabinet base or sides without obstructing the appliance, and the appliance has to be installable and removable without dismantling the surrounding units. Means careful pipework routing — Clive plans the runs to leave 50–80mm clearance around the appliance for future service access.
Drain routing. Dishwashers typically drain into a trap on the kitchen sink waste — not into a standpipe like washing machines. Means tee-ing into the existing waste pipe at the right point and at the right angle, with a non-return valve to prevent waste water back-feeding into the dishwasher. The drain hose must rise at least 40cm above the appliance base before falling to the waste connection — a critical detail that prevents dishwasher water siphoning down into the drain mid-cycle.
Cold supply. Tee from the kitchen cold supply with an isolator. Most dishwashers come with a 1.5m flexi inlet hose; longer hoses are available for awkward installations.
Levelling. Critical for dishwashers — out-of-level appliances don't fill correctly, drain incompletely, or create leaks at door seals. Spirit level on the appliance top and adjusting feet to bring it dead level.
Test cycle. Quick wash run after install to verify fill, wash, drain. Watching for leaks especially at the cabinet-base routing where pipes pass through tight spaces.
Typical cost. £85–£140 fitted for a standard dishwasher plumb-in with isolator and waste connection. Adds £30–£60 if a new tee into the cold supply or waste is needed (rather than connecting to existing valves).
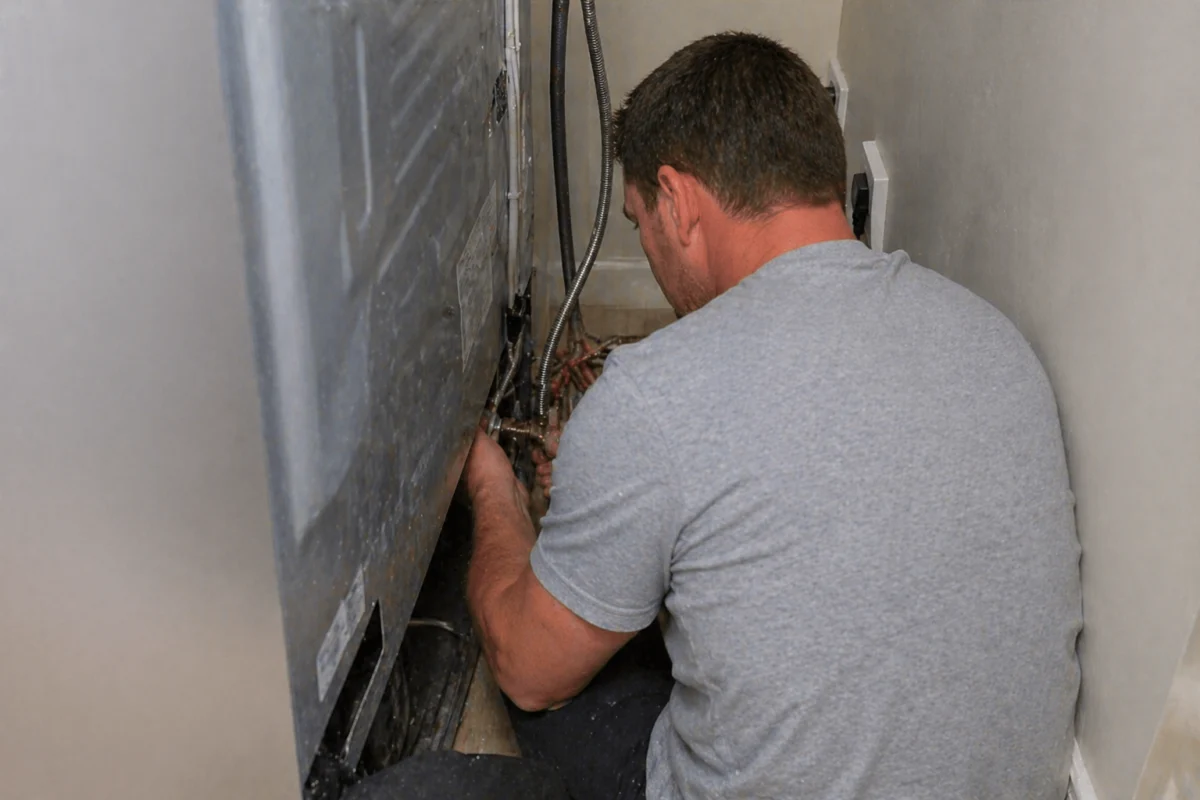
American-style fridge-freezers and many modern UK fridges include water dispensers and ice-makers fed from the cold mains supply. Plumbing them in properly involves more than a single tee.
Cold supply tap. A self-piercing or compression-fit tap onto the cold mains feeds a small-bore (typically 6mm or 1/4 inch push-fit) supply pipe to the fridge. Self-piercing taps are quick but less reliable long-term; compression-fit involves cutting the pipe but gives a permanent installation. Clive defaults to compression on modern installs.
Inline carbon filter. Required on every fridge water installation — both for taste/odour reasons (mains-water chlorine and any residual sediment) and to protect the fridge's internal water valve and ice-maker mechanism from particulates. Filter cartridge typically needs replacing every 6 months. Clive marks the install date on the filter housing for future reference.
Pipework routing. Small-bore push-fit pipework run from the cold supply to the fridge position. Usually concealed inside cabinets where possible, secured along the back of cabinet bases where exposed. Must not be subject to crushing (under fridge feet, behind sliding cabinets).
Connection to fridge. Manufacturer-supplied connector at the back of the fridge. Most modern fridges have a 1/4 inch push-fit input. Connection torqued correctly — over-tight cracks the fitting, too loose leaks.
Pressure test. Supply turned on, system pressurised. Watching for leaks at every joint during the first fill. Fridge water dispenser run for a minute to flush installation debris from the lines.
Test ice production. Ice-maker enabled and the fridge left to make its first batch — typically 24 hours for the first usable ice to be produced. Clive doesn't wait around for that part — a brief follow-up call confirms it's working.
Typical cost. £140–£220 fitted for a standard fridge water-line installation including filter, supply tap, pipework, and fridge connection. Adds £30–£50 if pipework needs to run a long distance through cabinets.
Two-thirds of Clive's white-goods callouts are issues with installations done by someone else (or by the appliance retailer's free fit). The recurring patterns that cause expensive trouble:
End-of-life flexi hoses left in place. Rubber-and-braided flexi hoses have a date stamp and a manufacturer-stated lifespan (5 years standard, 10 years premium). Old installs frequently have hoses that are 8, 10, 15 years old — perished rubber, rusted braiding, ready to burst. The replacement-during-install rule (always new hoses on a new appliance) eliminates this.
Drain hose dangling out of standpipe. The retainer clip that holds the drain hose in the standpipe is often missing or broken. During spin cycles the appliance vibrates the hose loose; first the drain backs up, eventually the hose falls out completely and the next wash cycle dumps water onto the floor. £2 of plastic clip prevents the £500 floor repair.
No isolation valve. Older plumb-ins without a dedicated isolator mean any leak requires shutting off the entire property's cold supply. Critical when a flexi hose fails on a Saturday night and you can't reach a plumber until Monday.
Wrong standpipe height. Too-low standpipes cause repeated wash-water back-feeding into the appliance (mid-cycle dirty water taste, contamination concerns); too-high standpipes mean the appliance pump can't shift the water and cycles fail. Both are common on installs where the appliance was just ‘hooked up’ without thought.
Self-piercing fridge taps. The cheap quick-fit option for fridge water lines, but they have a poor long-term reliability record — internal valve failures, persistent slow weeping, ice-build-up at the tap. Compression-fit replacements take 30 minutes more but eliminate the recurring problems.
Clive's standard install eliminates all of the above. Older installs can be upgraded as a separate small job — £85–£140 typical to retrofit isolators, fresh hoses and proper standpipe geometry on an existing appliance.

£85–£140 fitted for a standard washing machine plumb-in including isolation valve, fresh flexi hoses, drain hose retainer, levelling and a test wash cycle. Adds £30–£60 if a new tee into the cold supply or a new standpipe is needed (rather than connecting to existing services). Like-for-like swap on existing services is £85 typical. Old-install upgrades (retrofitting isolators and fresh hoses on a working appliance) are £85–£140. Gas-side services David also handles: boiler installation, boiler servicing, boiler repair, central heating installation, central heating repair, gas safety checks, gas leak detection, gas cooker installation, gas fire servicing and power flushing — all Gas Safe registered, all run from the same Ealing base.
60–90 minutes typical for a dishwasher plumb-in with cold supply, waste connection and levelling on existing services. Cabinet-integrated installs sometimes take 2 hours when pipework needs careful routing through tight spaces. New installs into kitchens without existing dishwasher services (no spare cold tap, no spare waste connection) take longer — usually 2–3 hours including the new tees.
Yes, ideally — Clive walks you through the appliance afterwards (controls, maintenance basics, where the isolator is, what to do if something leaks). For multi-appliance installs (e.g. new kitchen with washing machine, dishwasher and fridge all going in together), the walk-through covers all of them at the end. If you can't be home, written notes on isolator locations and maintenance can be left.
Worth thinking about, but Clive doesn't recommend it. Flexi hoses are dated for a reason — rubber perishes whether the hose is in use or sitting in storage. Hoses more than 5 years old have a meaningfully higher chance of failure than fresh ones. The £15–£25 cost of new hoses on a £85 install is small insurance against the £500+ cost of cleaning up after a burst hose. Some house insurers explicitly require hoses to be within manufacturer date. Other plumbing work Clive covers from the same Ealing base: emergency plumbing, tap and outlet installation, water tank installation, toilet installation, kitchen plumbing, radiator installation, hot water cylinder installation and bathroom installation.
Most white goods plug into existing 13A sockets — no electrical work needed beyond confirming the socket is in reach and tested. If a new socket needs to be added (e.g. moving a dishwasher into a position without a nearby socket), Clive coordinates with an NICEIC-registered electrician for the wiring side. Electric showers and any hardwired appliances are full electrical jobs and need an electrician on-site rather than a plumber. Other plumbing work Clive covers from the same Ealing base: emergency plumbing, drain unblocking, pipework and repipes, tap and outlet installation, water tank installation, leak detection, toilet installation, kitchen plumbing, radiator installation, hot water cylinder installation and bathroom installation.
+
%
+
%

For washing machine, dishwasher, fridge water-line and other white-goods plumb-in work anywhere in white goods plumbing in Ealing, white goods plumbing in Acton, white goods plumbing in Hanwell, white goods plumbing in Greenford, Northolt, Perivale, Southall, white goods plumbing in West Ealing, Park Royal, white goods plumbing in Pitshanger, Brentham, North Ealing, white goods plumbing in South Ealing or anywhere else across the W postcodes — phone Clive directly on 07794 400 786.
Clive also covers white goods plumbing across the rest of the borough — white goods plumbing in Boston Manor, white goods plumbing in Brentford, white goods plumbing in Ealing Common and white goods plumbing in Northfields — all served from the same Ealing base, same engineer, same fixed-price quotes.
Single-appliance installs typically booked within a few days. Whole-kitchen white-goods replacements (e.g. when a new kitchen goes in) coordinated with the kitchen install timing. 12-month workmanship warranty on every plumb-in.